
Test Sequence
A Test Sequence is the initialized version of a
Test Sequence Template. It can be started to execute the
Test Sequence Template’s associated Tests
in their configured order. The detail view can be found in the left sidebar under Application > Running. Here all
previously and currently running Test Sequences are listed, with an indicator on the right to show
their current execution status. When one of the Test Sequences is selected, the right detail view
shows more details about the Test Sequence’s execution status, as well as progress updates for the
individual associated Tests.
Workflow
Section titled “Workflow”▶️ Starting a Test Sequence
Section titled “▶️ Starting a Test Sequence”To test a Test Sequence, its matching Test Sequence Template has to be initialized which the automatically also starts that Test Sequence. For a detailed description of this process, please refer to the ▶️ Starting a Test Sequence Template workflow.
⚠️ Confirming Spectrometer
Section titled “⚠️ Confirming Spectrometer”During the execution of a Spectrometer Test in a Test Sequence, it it required to manually connect
the spectrometer to the tested Laser Mount and then confirm this action in TestRack UI.
Over Application > Running View
Section titled “Over Application > Running View”- Navigate to the
Application > Runningview on the left sidebar - Select the Test Sequence to confirm in the left table view
- In the right detail view, you should now see the Spectrometer Confirmation Message
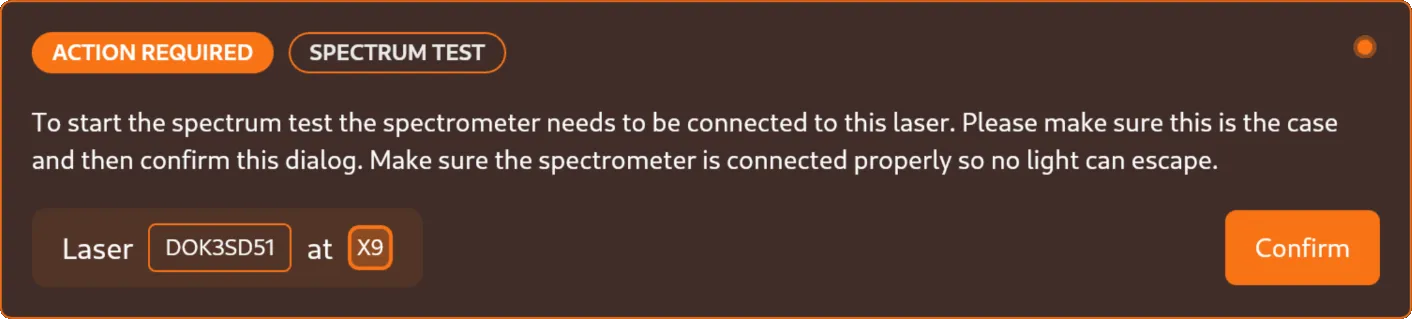
- Make sure the spectrometer is connected to the correct Laser Mount
- Click on the
Createbutton in the bottom-right corner of the message - Now the
Spectrumtest should start
Over Application > Devices View
Section titled “Over Application > Devices View”- Navigate to the
Application > Devicesview on the left sidebar - Select the Device which is executing the Test Sequence to confirm in the left table view
- In the right detail view, you should now see the Spectrometer Confirmation Message
- Make sure the spectrometer is connected to the correct Laser Mount
- Click on the
Createbutton in the bottom-right corner of the message - Now the
Spectrumtest should start
⏸️ Pausing a Test Sequence
Section titled “⏸️ Pausing a Test Sequence”- Navigate to the
Application > Runningview on the left sidebar - Select the Test Sequence to pause in the left table view
- Click on the
⏸button in the top-right corner of the detail view - Now the Test Sequence should be paused
▶️ Resuming a Test Sequence
Section titled “▶️ Resuming a Test Sequence”- Navigate to the
Application > Runningview on the left sidebar - Select the paused Test Sequence to resume in the left table view
- Click on the
▶button in the top-right corner of the detail view - Now the Test Sequence should resume the last Test
⛔️ Aborting a Test Sequence
Section titled “⛔️ Aborting a Test Sequence”- Navigate to the
Application > Runningview on the left sidebar - Select the Test Sequence to abort in the left table view
- Click on the
⨯button in the top-right corner of the detail view - Now the Test Sequence should be aborted